使用Scrapy爬取文章的一个小项目..
Scrapy
框架图:

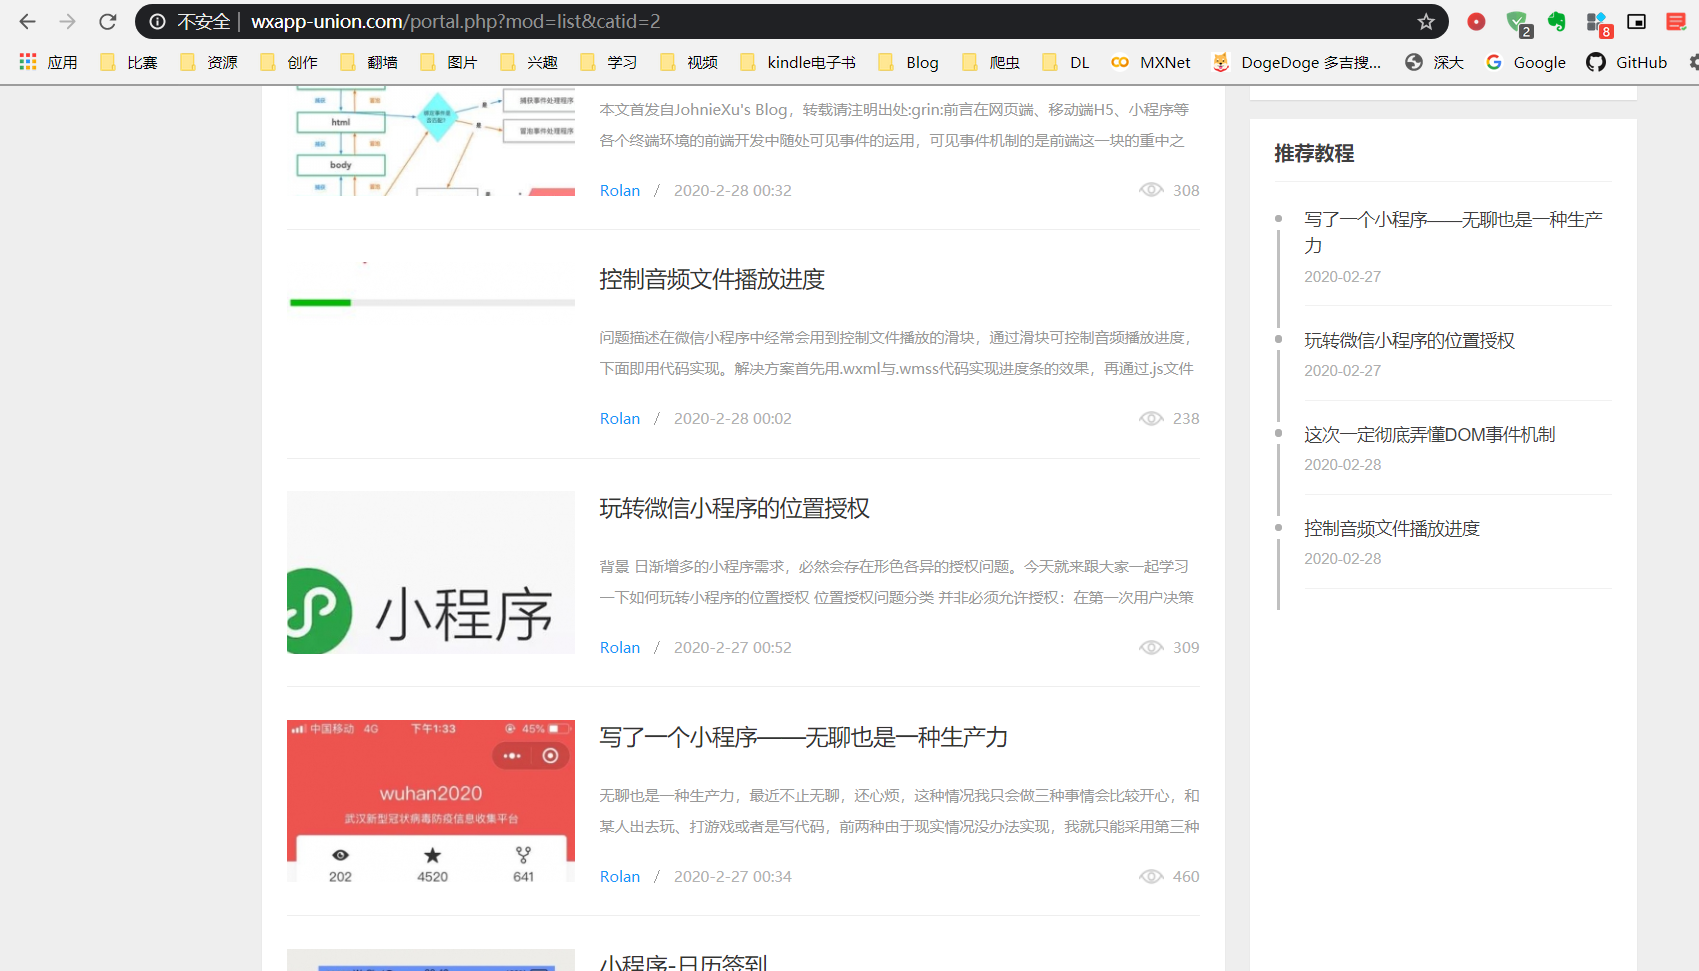
抓取小程序社区文章

创建爬虫项目
创建项目(项目名为MyTest)
1
|
scrapy startproject MyTest
|
创建爬虫🪲(先进入到MyTest目录)
1
|
scrapy genspider -t crawl wx wxapp-union.com
|
wx为爬虫的名字,wxapp-union.com为爬取的域名,使用了模板crawl
定义爬取的数据结构
爬取的数据结构类继承Item类,在items.py文件中,如下是设置需要爬取的数据结构,其中包括:标题、作者、时间、访问者、前言、正文。
 1
 2
 3
 4
 5
 6
 7
 8
 9
10
|
from scrapy import Item,Field

# 定义文章数据结构
class ArticleItem(Item):
    title = Field()
    author = Field()
    _time = Field()
    visitors = Field()
    pre_talk = Field()
    article_content = Field()
|
编写爬虫规则与解析规则
爬虫的爬取网页的链接的规则和解析页面的规则都是在新建的spider文件中的类中,也即在wx.py中
编写的spider类如下:
 1
 2
 3
 4
 5
 6
 7
 8
 9
10
11
12
13
14
15
16
17
18
19
20
21
22
23
24
25
26
|
import scrapy
from scrapy.linkextractors import LinkExtractor
from scrapy.spiders import CrawlSpider, Rule
from MyTest.items import ArticleItem

class WxSpider(CrawlSpider):
    name = 'wx'
    allowed_domains = ['wxapp-union.com']
    start_urls = ['http://www.wxapp-union.com/portal.php?mod=list&catid=2&page=255']

    rules = (
        Rule(LinkExtractor(allow=r'.+mod=list&catid=2&page=\d'), follow=True),    Rule(LinkExtractor(allow=r'.+article-.+\.html'),callback="parse_item",follow=False)
    )

    def parse_item(self, response):
        title = response.xpath('//h1[@class="ph"]/text()').get()
        author = response.xpath('//p[@class="authors"]//a').get()
        _time = response.xpath('//span[@class="time"]/text()').get()
        visitors = response.xpath('//div[contains(@class,"focus_num")]//a/text()').get()
        pre_talk = response.xpath('//div[@class="blockquote"]//p/text()').get()
        article_content = response.xpath('//td[@id="article_content"]').get()
        item = ArticleItem(title=title,author=author,_time=_time,visitors=visitors,pre_talk=pre_talk,article_content=article_content)
        print('*'*40)
        print(title)
        print('*'*40)
        return  item
|
- 首先rules定义了爬取链接规则,有两个规则,第一个规则是爬取页面的链接,每一页有多个文章的链接,而第二个规则则是定义爬取的具体文章内容的链接。
- 第一个规则需要Follow,因为需要根据每一页的内容查找文章的链接;而第二个规则是文章链接,故不需要继续Follow
- 第一个页面链接规则不需要回调函数,因为不需要解析,只需要获取文章链接;第二个文章链接规则则需要设置回调函数来对返回的文章网页内容进行解析。
parse_item说明:
parse_item是解析页面返回内容的函数,其返回Item数据结构,使用Xpath分别获取数据结构各个元素的内容并且返回Item
保存数据
pipelines是一个最后处理Item的管道
在pipelines.py文件中新建pipleline对返回的Item进行处理,可以保存为文件,或者存储到数据库。
首先文件中需要导入必要的库‘
1
2
3
4
5
|
import re	# 正则处理
from html2text import HTML2Text	# 将网页转化为Markdown格式
from scrapy.exporters import JsonLinesItemExporter	# 输出Json文件输出器
from urllib.parse import urljoin	# 补全URL,因为有些URL只显示相对位置
import pymongo	# MongoDB操作库
|
第一个Pipeline:保存到Json文件
程序的构造函数新建一个Json文件输出器,process_item进行数据的存储,关闭的时候close_spider会调用关闭文件
 1
 2
 3
 4
 5
 6
 7
 8
 9
10
11
12
13
14
15
|
# 存储到Json文件中
class JsonPipeline(object):
    def __init__(self):
        self.f = open('wxjc.json','wb')
        self.exporter = JsonLinesItemExporter(self.f,
        ensure_ascii=False,encoding="utf-8")

    def process_item(self, item, spider):
        # 将内容转化为MarkDown格式
        item['article_content'] = convert_md(item['article_content'])
        self.exporter.export_item(item)
        return item

    def close_spider(self,spider):
        self.f.close()
|
第二个Pipeline:保存到Markdown文件
方法与第一发Pipeline类似,只是写文件使用最简单的追加方式
 1
 2
 3
 4
 5
 6
 7
 8
 9
10
11
12
13
14
15
16
17
|
# 写入Markdown
class MDPipeline(object):
    def __init__(self):
        self.f = open('wx_teaches.md','a',encoding='utf-8')

    def process_item(self,item,spider):
        if self.f:
            self.f.write('\n')
            self.f.write("# " + item['title'] + '\n')
            header_info = "作者:{}      发布时间:{}      Visitors:{}\n".format(item['author'],item['_time'],item['visitors'])
            self.f.write(header_info)
            self.f.write('> ' + item['pre_talk'] + '\n')
            self.f.write(item['article_content'])
        return item

    def close_spider(self,spider):
        self.f.close()
|
第三个Pileline:保存到MongoDB
其中使用了类方法装饰器@classmethod,意思就是直接用类名调用该函数,就能够直接返回一个MongoPipeline类了,还定义了打开spider与关闭spider的操作,就是连接数据库与关闭数据库
 1
 2
 3
 4
 5
 6
 7
 8
 9
10
11
12
13
14
15
16
17
18
19
20
21
22
23
24
|
# 存储到MongoDB数据库
class MongoPipeline(object):
    def __init__(self,mongo_uri,mongo_db):
        self.mongo_uri = mongo_uri
        self.mongo_db = mongo_db

    @classmethod
    def from_crawler(cls,crawler):
        return cls(mongo_uri = crawler.settings.get('MONGO_URI'),
                    mongo_db = crawler.settings.get('MONGO_DB'))

    def open_spider(self,spider):
        self.client = pymongo.MongoClient(self.mongo_uri)
        self.db =self.client[self.mongo_db]

    def process_item(self,item,spider):
        name = item.__class__.__name__
        # <a href=\"space-uid-17761.html\">Rolan</a>
        item['author'] = re.search('<a.*?>(.*?)</a>',item['author']).group(1)
        self.db[name].insert(dict(item))
        return item

    def close_spider(self,spider):
        self.client.close()
|
最后需要在settings.py中添加如下字段:
1
2
|
MONGO_URI = 'localhost'
MONGO_DB = 'WX'
|
最后需要在settings.py中添加如下字段
1
2
3
4
5
6
7
8
9
|
ITEM_PIPELINES = {
   'MyTest.pipelines.JsonPipeline': 300,
   'MyTest.pipelines.MDPipeline': 301,
   'MyTest.pipelines.MongoPipeline': 400,
}
# 修改为False
ROBOTSTXT_OBEY = False
# 设置延迟1s
DOWNLOAD_DELAY = 1
|
开始爬取
可以在项目目录中新建一个脚本start.py,文件内容如下,自动运行脚本
1
2
|
from scrapy import cmdline
cmdline.execute('scrapy crawl test'.split(' '))
|
爬取结果
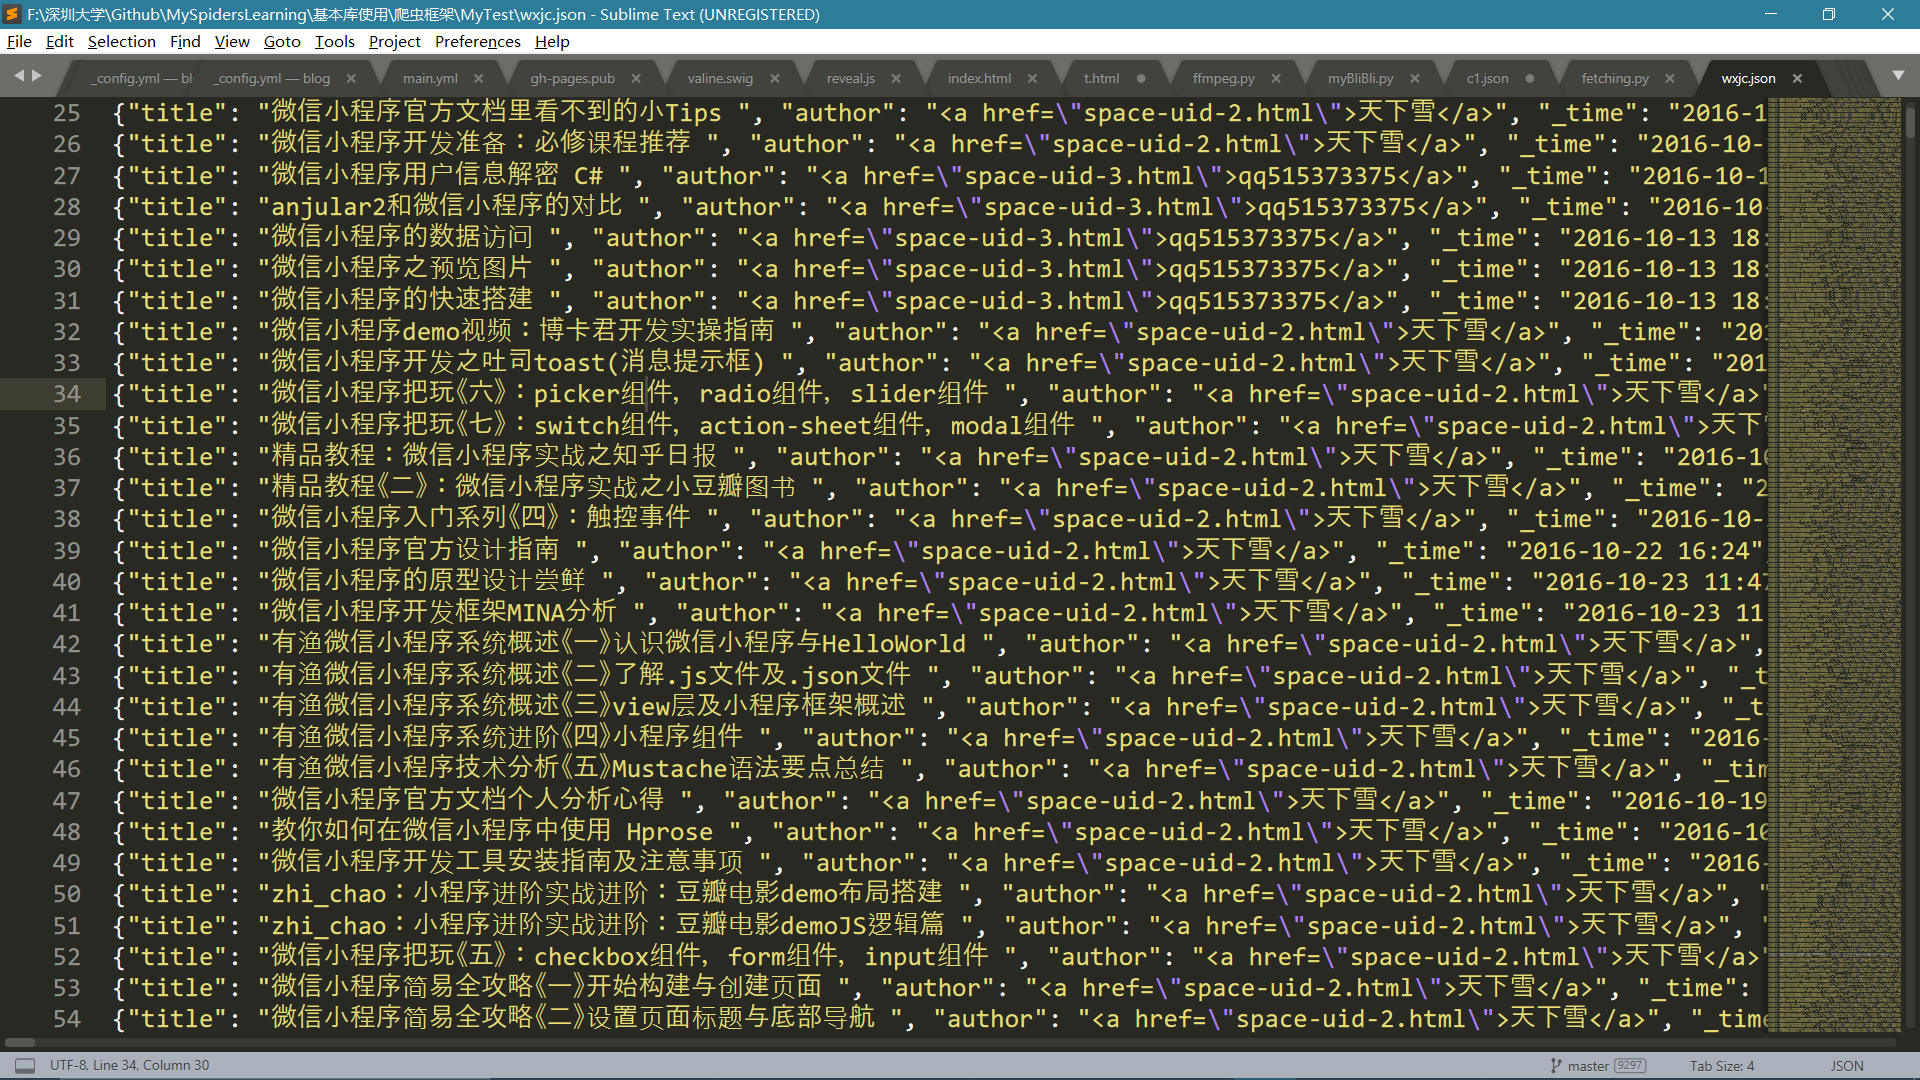
Json结果

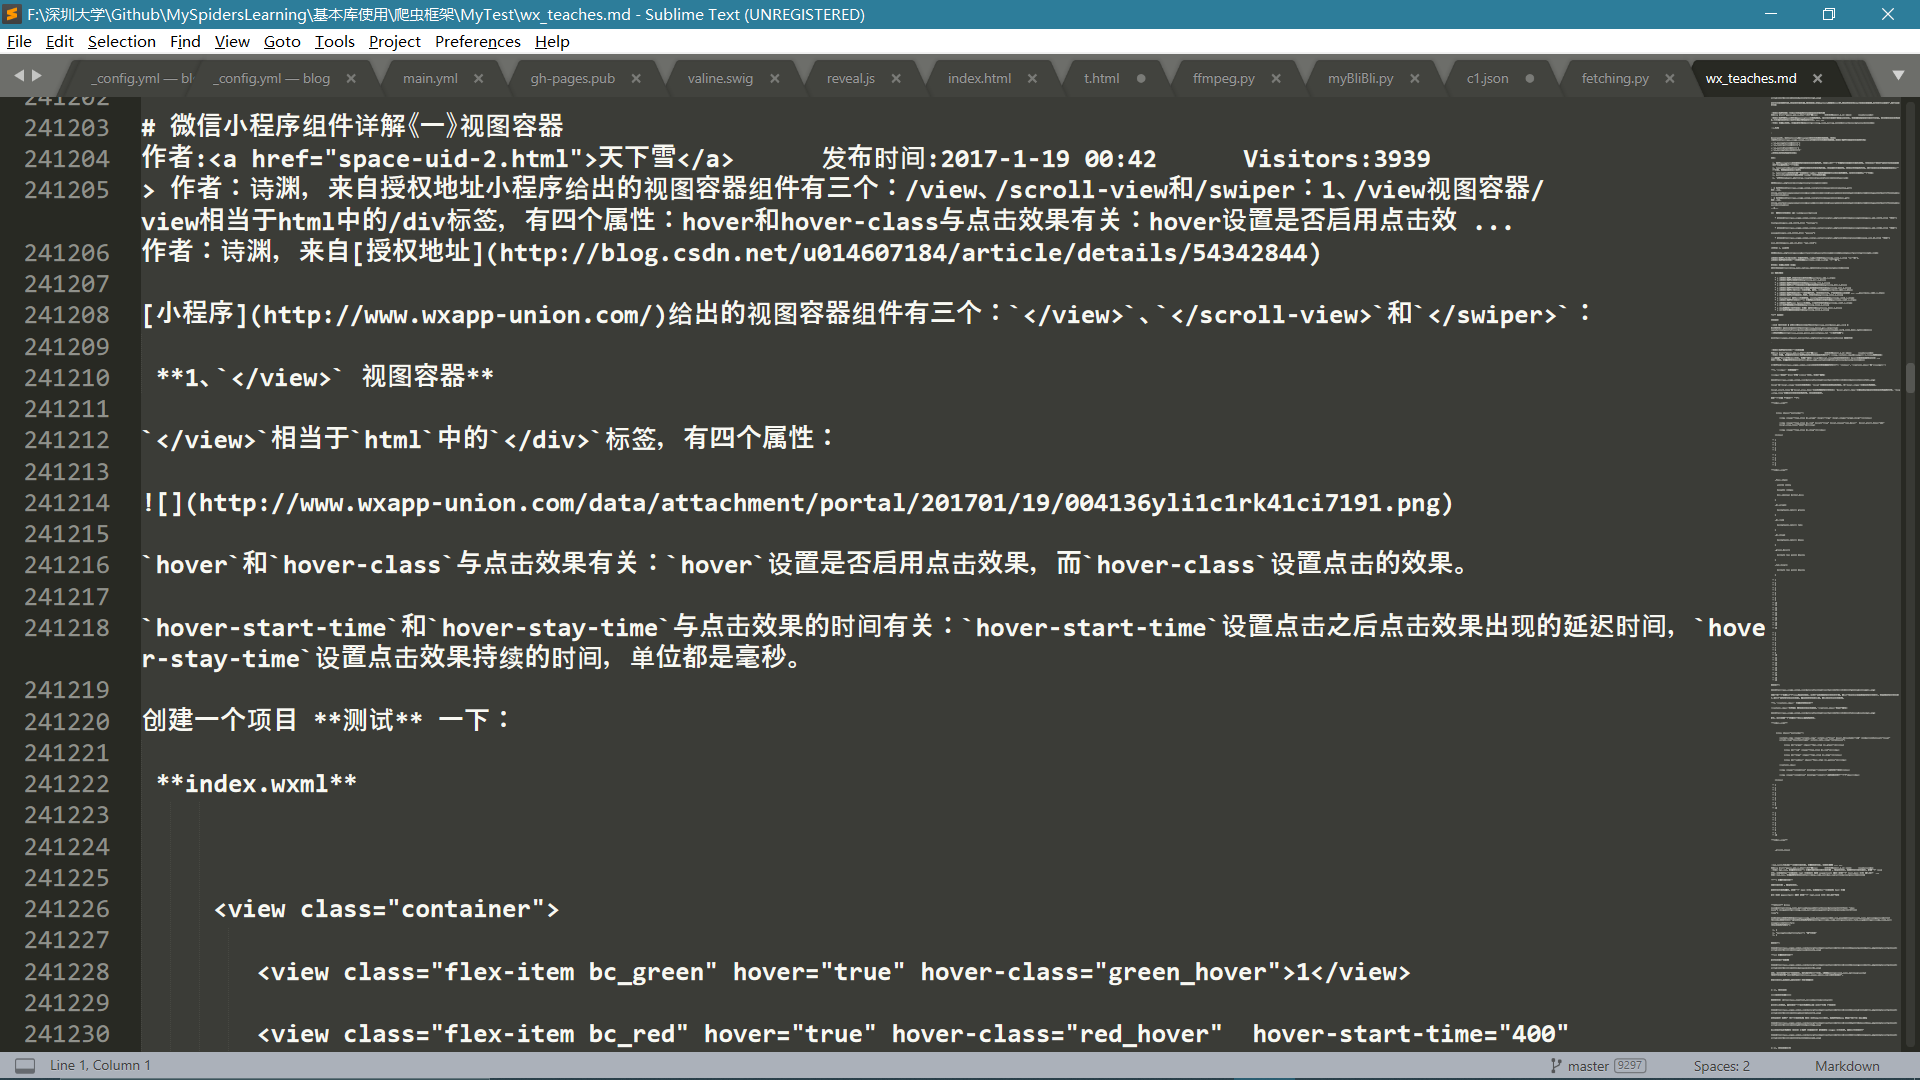
Markdown结果
Markdown文件由于太大了使用Markdown文件打不开,只好使用文本编辑器打开

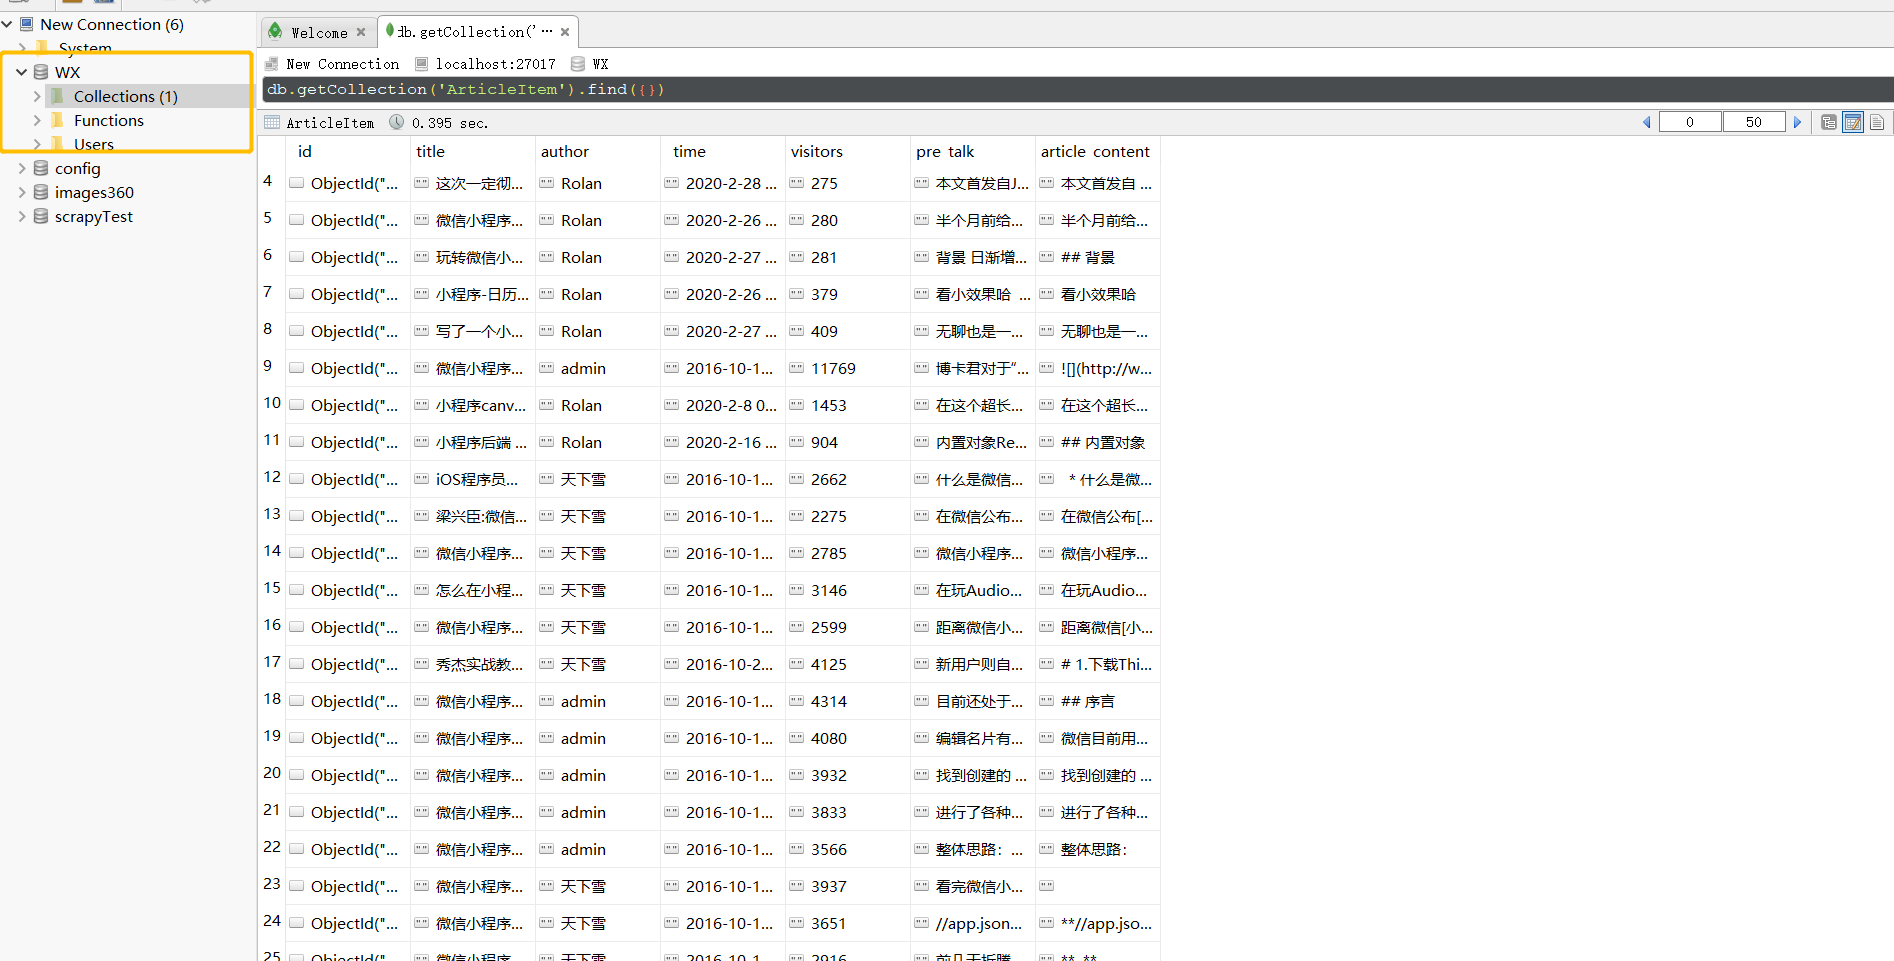
MongoDB结果


